Contributing to Github for Information Security Professionals
Every Month if Hacktoberfest, which, if you’re not already familiar with is an event run by Digital Ocean to reward open source contributions with swag (normally a t-shirt and stickers). All in all, it’s a very well received event that provides the perfect time to jump into open source, if you haven’t already.
The intention of this guide is to arm you with the knowledge of how you can get involved, even if you’re not entirely familiar with programming, or if you are, and you want a reference point for “how to github” - I’m aiming for this to land with both.
Table of Contents
What is Github?
Glad you asked! Github is self purported to be the worlds leading software development platform. In my own words, it’s a programming social network where you can receive the benefit of open source projects others have contributed to, contribute to yourself, or host your own code upon. This isn’t just limited to code also, some informational resources can be found here, completely community driven.
Without question, Github is the biggest of these platforms and although Gitlab and others exist, the security community has never really gravitated towards them, with the very, very vast majority of projects exisitng on and being powered by Github.
But what is Git?
Both Github and Gitlab are websites that wrap around git, a version control management system. This is well summarised below however don’t worry if some of this seems daunting, as I’m aiming to cover the “how” throughout this guide, leaving you armed with enough information to jump in and get involved.
How do I get started?
After registering an account and poking around, it’s worth understanding a few “how to” elements of Github. Let’s use https://github.com/codingo for examples sake.
When you first visit this, you’ll see the following:
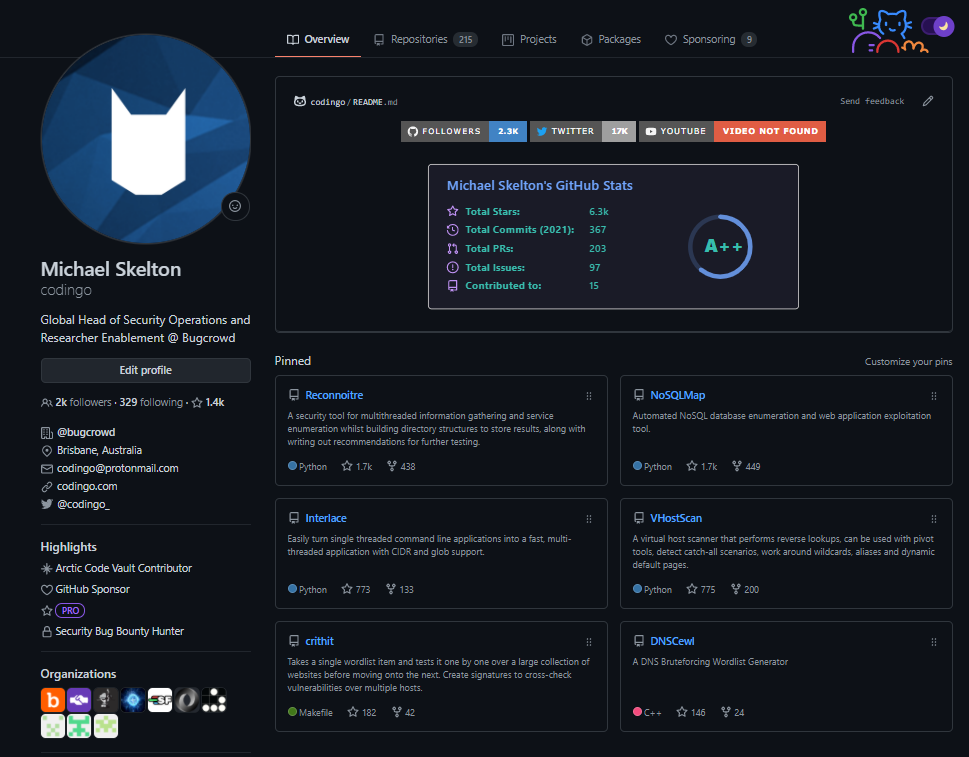
The “pinned” section is a summary of repositories that I’ve chosen to highlight. A respository is essentially the term used to house git repositories, or version control sytems. If a git repository contains a “README.md” then that will be displayed when you first open the repository, as shown below:
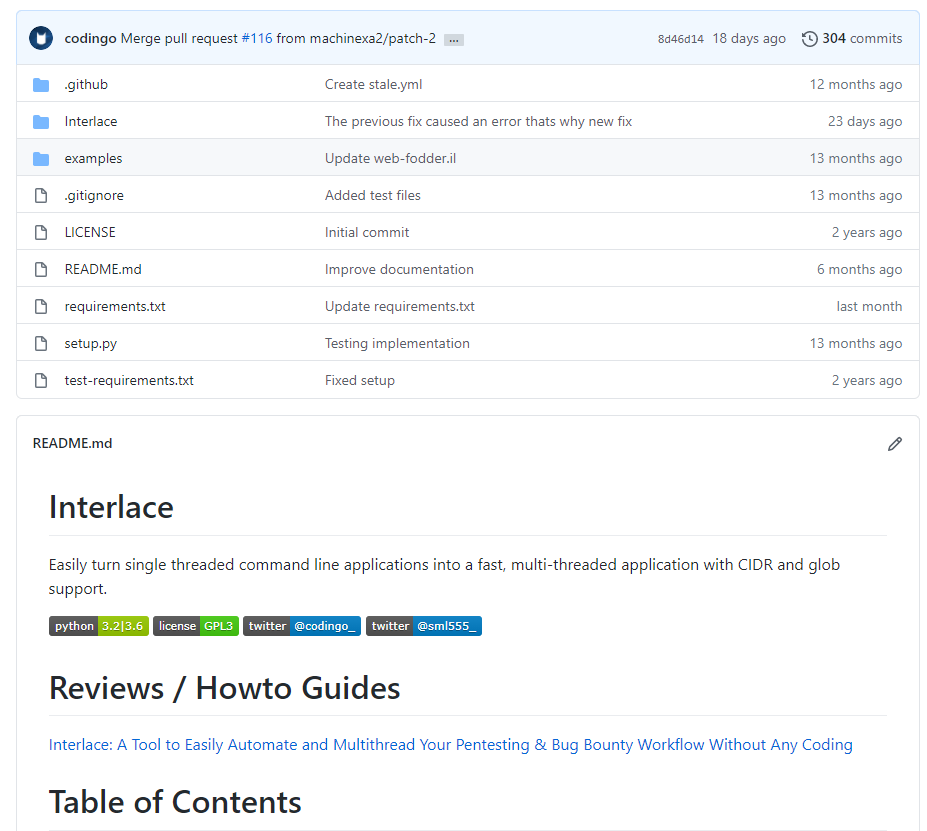
As you can also see, the files within the repository will be shown, along with the latest commit messages against those files (we’ll dig into those later), and the date they were last modified. You can also click these, to see what those changes were, and who they were made by. In essence, a repository stores a full history of these files, creating an immutable (to a degree, you can force change if you’re the project owner) record of that history, should you need to ever track down the origin of a change, or revert it.
Back to profiles, you’ll also see different elements such as badges, organisations that user belongs to and more. The “highlights” a user can have come from different activities over Github itself. For example, the “Security Bug Bounty Hunter” highlight on my profile is one I’m particularly proud of, as it shows that I’ve found and reported a security issue in Github itself. Likewise, the organisation I work for (Bugcrowd) contributes to the open source space and I’ve been invited to that organisation on Github, my affiliation is shown on my profile. All of this to say, you can build your profile out with other actions over Github, beyond just contributing to open source projects.
Visiting a Project (repository)
Moving beyond profiles, you should dig into code repositories. In github, these are fully hosted pages, showing the key information around a repository. If we go to https://github.com/codingo/Interlace, we can break this down further.
This repository contains a number of elemnts. Front an centre you’ll see the files and folders relating to the project, as well as when they were last updated.
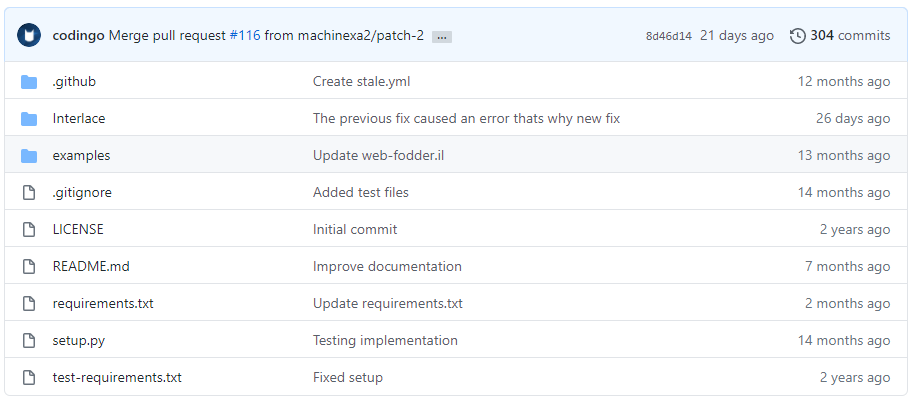
Clicking the descriptions next to these files will show you the details of the “commit” that description is referring to. Essentially, a commit is a change to a file (sent via a pull request). We’ll dig into this more later, but what you need to know about git, and by extension then Github is that every change to a file, folder, or otherwise is stored in a commit and the entire repository is a database of sorts storing the commit history for a project.
The power of this commit history is that you can see the full history of a file (this is referred to as “git blame”, but it doesn’t have a negative conotiation as the wording suggests). This means that if you make a mistake, or you want to note when a change occured, you can do it. The other power of git, and its intention, is that this history, stored with the way git merges changes to projects (more on this later also) allows for small and large teams alike to work on the same project in paralell, without getting in each others way (at least, not intentionally!).
Creating your first project
I’m going to assume you’ve registered a github account, logged in, and want to start with creating your first project. So let’s! Firstly, to do that login, and at the profile page, click “Repositories” (found on the top bar).
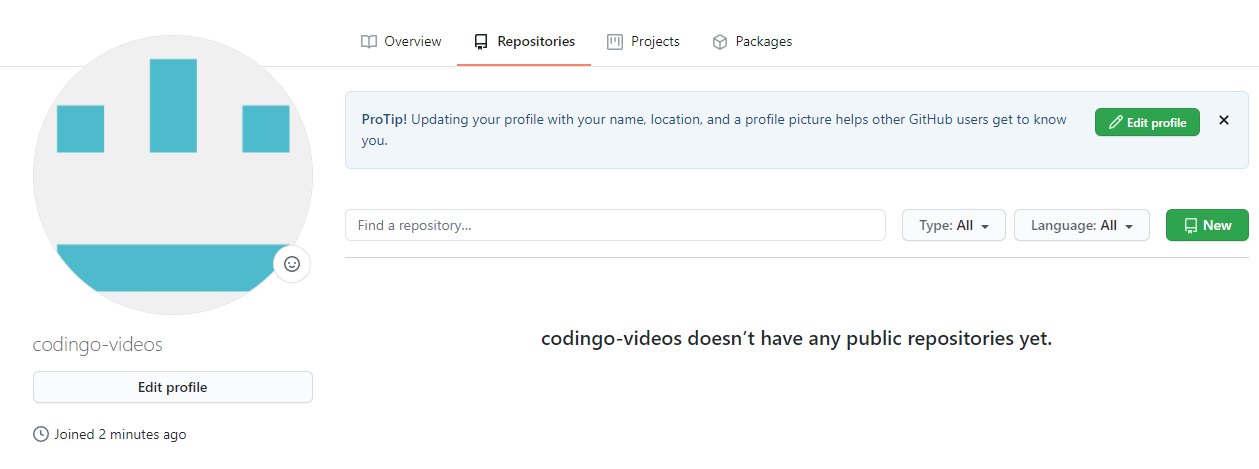
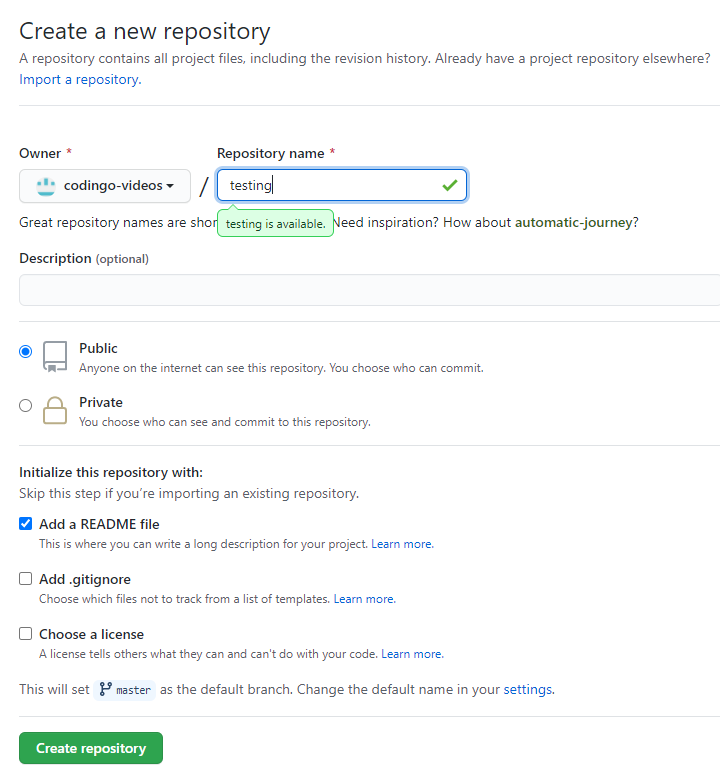
At the next page, click “New” and give your repository a name. These will also drive the URL to your project, and it’s best to be succinct. You’ll also need to provide a description, and assuming you don’t have a premium (or student) account on Github, you will need to make a public repository.
I also suggest initializing the repository with content, the best way I find to do this is to select “Add a README file”. We’ll dig into editing and updating using this file as an example later, so it’s best to select this to more easily follow this guide.
After you’ve done that, click “create repository”, and we’re off!
Master and Main Branches
As you create pull requests you’re performing work on your own branch, which you then propose to the owners of the repository in a pull request. Essentially, you’re saying, “Hey, I did this work over here, but the main project should add it as it is good for others”.
The primary branch that a project works on historically has been referred to as the master branch, however this term has now shifted to referring to this as the main branch, and Github is slowly making steps towards applying this site-wide.
Commiting direct to Main Branch
You can, as the owner of a repository also commit changes directly to the main branch, instead of going through a pull request. This is only recommended for every minor changes, if at all, as every time you do so on a Github project you’re also risking a user cloning the repository at a point in time where you have functionally broken or untested code. For that reason, any user who isn’t a listed contributor (a permission setting, not literally a contributor) to a repository must go through a pull request to submit changes.
Authentication
Authentication is key if you’re working with Github, and can be found discussed at length here: https://docs.github.com/en/free-pro-team@latest/github/authenticating-to-github
Projects for non-coders
Disclose.io
The Disclose.io project tracks websites operating disclosure programs, and the terms under whcih they operate. It’s community driven, and can be found at: https://github.com/disclose
Can-I-Take-Over-XYZ
The can-i-take-over-xyz list tracks services which are, or aren’t vulnerable to subdomain takeover in a discussion type format. You can find it at https://github.com/edoverflow/can-i-take-over-xyz
Keyhacks
The Keyhacks repository tracks safe methods for checking if an API key discovered in a pentester, or Bug Bounty program is valid or not. You can find it at https://github.com/streaak/keyhacks/
Infosec Community Repositories
The Infosec Community Github organisation tracks a number of informational repositories you can contribute to, found here: https://github.com/infosec-community